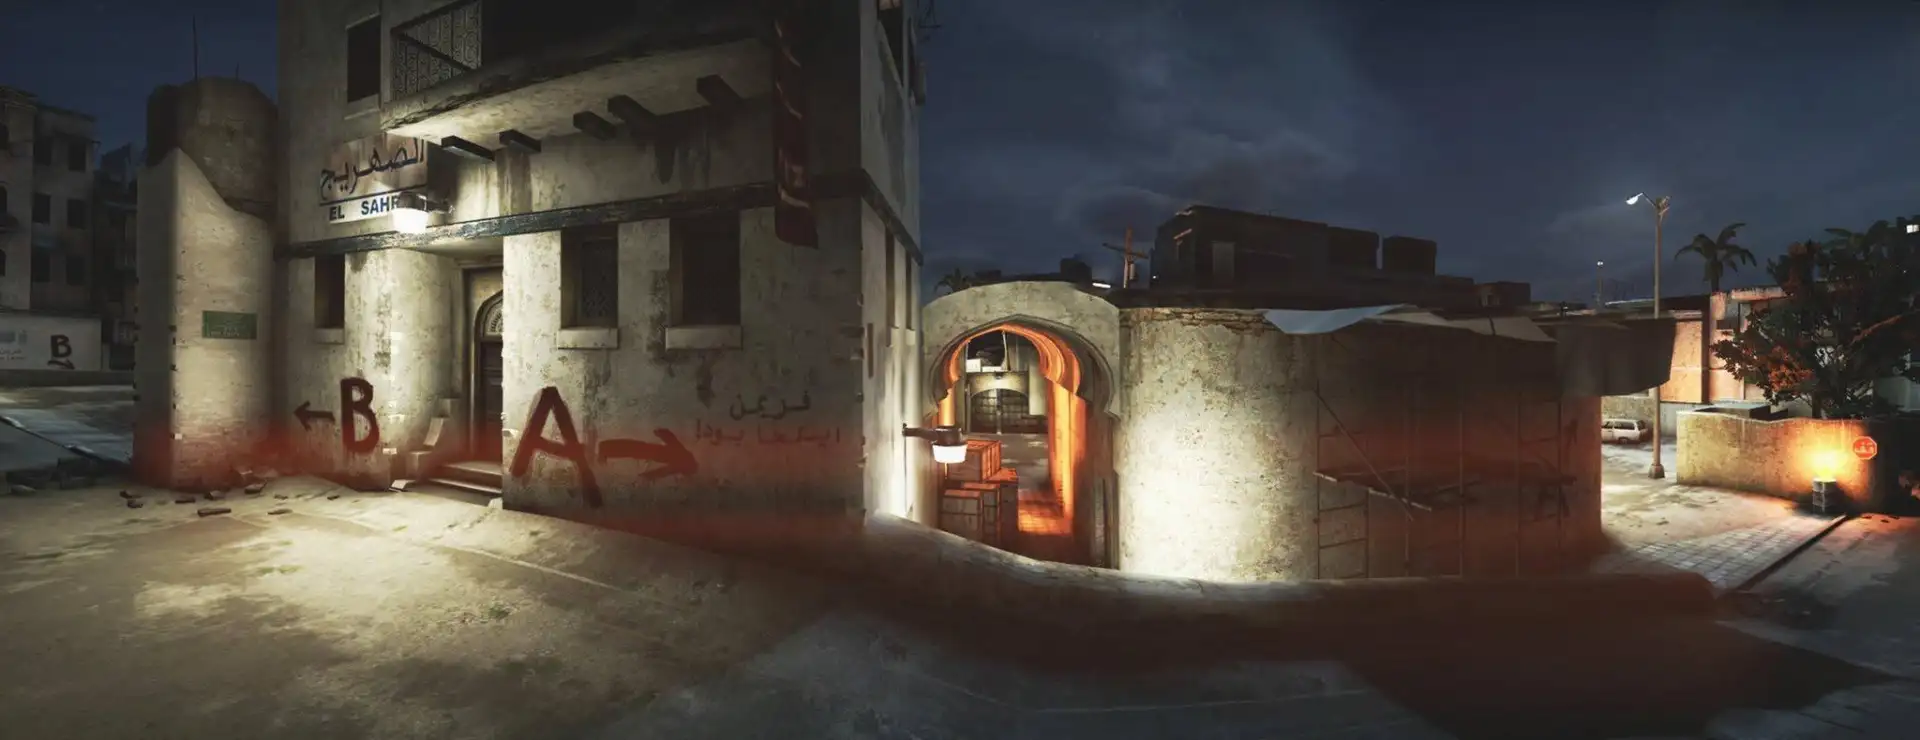
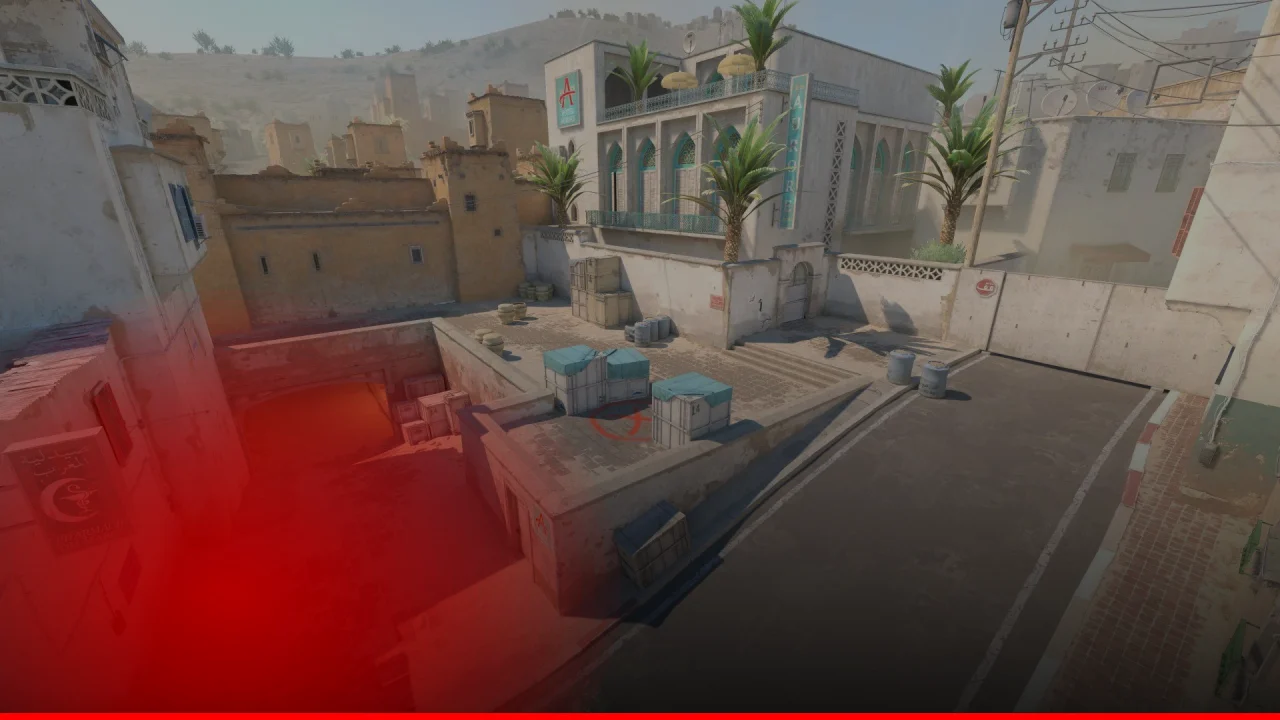
Mirage is one of the most iconic and consistently played maps in Counter-Strike history. Whether you are a newcomer trying to understand the layout or a veteran looking to sharpen your utility and callouts, this guide covers everything you need to dominate both sides of Mirage in CS2. For a full overview of all active duty maps, visit our CS2 maps hub.
Mirage Map Overview
Mirage is a three-lane map set in a Middle Eastern urban environment. The three main paths — A site, Mid, and B site — each offer distinct strategic options for both Terrorists and Counter-Terrorists. Mid control is the central battleground that unlocks flanks and rotations for whichever team dominates it.
For a dedicated page with the full layout image and pool status, see our Mirage map guide.
Essential Mirage Callouts
Knowing callouts by name is mandatory for team coordination. Below are the key areas and what they are called at all levels of play.
A Site and A Approaches
- Palace — The long corridor on the T-side left flank leading directly into A site. A common entry point that can be contested by a CT playing short.
- Ramp — The elevated ramp connecting T spawn to A site, adjacent to Palace. Smoke coverage here is essential before committing.
- CT — The position Counter-Terrorists hold at the back of A site, near the CT spawn entrance. Controlling this angle determines bomb plant safety.
- Jungle — The elevated platform on the right side of A site as Ts exit ramp. A common lurk spot for CTs to catch out rushing Ts.
- Stairs / Short — The short stairs leading from CT spawn up to A site. CTs often hold this to deny ramp pushes.
- Ticket Booth — Small booth structure on A site near Jungle, used for cover or as an off-angle.
Mid
- Top Mid / Window — The large window room above Mid. CTs use this to gather information and cut off T movement through Mid.
- Connector — The hallway linking Window to A site. Winning connector control opens a deadly second angle onto A.
- Short — The lower portion of Mid on the CT side, often contested by both sides in early rounds.
- Catwalk — The narrow walkway from T side into Mid, leading toward B apartments. Pushing Catwalk allows Ts to apply B-side pressure while maintaining a Mid threat.
- Underpass — The underground tunnel beneath Mid that connects T side to B site via an alternate route, useful for sneaky B executes.
B Site and B Approaches
- Apartments (Apps) — The multi-room T-side building on the B flank. Moving through Apps is the default B approach and requires clearing multiple angles.
- Short B / Van — The alley between Apartments and B site where a CT often waits behind a van or boxes.
- Market — The building on CT side of B site, often used by CTs to play aggressive or fall back safely.
- B Anchor — The CT position holding site from the Market or bench area.
Essential Smokes for Mirage
Utility usage separates good Mirage players from great ones. These are the smokes every player should know.
T-Side Smokes for A Execution
- CT Smoke — Blocks the CT player holding A site from rotating or picking off players entering from Ramp. This smoke is the backbone of any A execute.
- Jungle Smoke — Blinds the player holding the Jungle boost position, preventing them from freely picking Ts coming off Ramp.
- Stairs Smoke — Seals off the Short Stairs so no CT can fall back onto site mid-execute.
T-Side Smokes for B Execution
- Short B / Van Smoke — Covers the CT holding van or the corner at Short B, letting Ts push out of Apps safely.
- Market Window Smoke — Prevents the CT in Market from peeking or throwing utility at Ts on B site.
- Bench Smoke — Cuts off the bench position on B so the bomb can be planted without line-of-sight from that angle.
Mid Smokes
- Top Mid Smoke — Allows Ts to cross Catwalk or push Short without taking fire from the Window CT.
- Short Smoke — Blocks the Short/CT exit so Ts can peek into Mid or take Connector without being instantly punished.
Flashes and Molotovs
Smokes alone are not enough. Flashes and molotovs are what complete an execute.
Key Flashes
- Pop Flash over Palace wall — A well-timed pop flash into A site blinds the CT holding from stairs or CT position, giving Ts a free first kill.
- Apps Flash into B Short — Thrown from inside Apartments, this flash pops directly in the Short B corridor, blinding any CT playing aggressive.
Key Molotovs
- CT Molotov — Flushing out a CT holding deep on A from the CT corner is critical; a well-placed molotov forces movement.
- Bench Molotov on B — A molotov thrown from outside Apps can clear the Bench corner on B site before Ts rush in.
CT-Side Strategy
On CT side, Mirage is about information gathering and late rotation. A common setup uses two players on A (one Ramp, one Short), one on Mid/Window, and two on B.
Default CT Setup Tips
- The Window player must gather Mid information early — if Ts are pushing Short or crossing, relay this immediately.
- A Ramp player can play aggressive or passive depending on the round economy. On rifle rounds, an early ramp peek can net a free kill before Ts have smokes ready.
- B anchor players should hold Short B early but be prepared to fall back to Market if Ts commit to Apps with numbers.
- Connector is a critical flank route — if Mid is lost, Connector becomes a backdoor into A site that CTs must watch.
CT Retake Strategies
- Retaking A: Rotate via CT (Short Stairs) and use a combination of Jungle and CT entry to cross-fire any planter.
- Retaking B: Come from Market for one angle, use the CT entrance for another. A quick molotov on the planted bomb forces T movement and disrupts defuse denial.
T-Side Strategy
Mirage T-side is about creating pressure across multiple lanes simultaneously and committing decisively once the setup is in place.
Default Round Flow
A healthy T-side default involves sending two players to Apps (B pressure), one player to Catwalk (Mid threat), and two players toward A Ramp/Palace. This forces the CT team to address all three angles early in the round without rotating prematurely.
Mid Control
Winning Mid is the highest-value objective in T-side Mirage. Taking Mid gives access to Connector (backdoor A), Short (additional B angle), and information denial for CTs. A dedicated Mid player who smokes Window and takes Short control can single-handedly enable two different site executes.
Late Round and Lurk Plays
- A lurk through Underpass while your team runs Apps can create devastating timing mismatches on B.
- A Palace lurk staying behind while teammates execute A can catch rotating CTs from behind via Ramp.
Quick Reference: Callout Table
| Callout | Location | Side Benefit |
|---|---|---|
| Palace | Long A corridor | T entry to A site |
| Connector | Window to A link | Mid control flank |
| Jungle | Elevated A site platform | CT info and off-angle |
| Apps | T-side B building | B site approach |
| Underpass | T-side Mid tunnel | Alternate B route |
| Catwalk | Mid T-side walk | Mid/B pressure |
Final Tips
Mirage is won in the mid-round, not the opening. Control information, control Mid, and the executes will follow.
- Learn at least three consistent lineup smokes — CT, Jungle, and Top Mid are the bare minimum.
- Communicate Window information early every round; it shapes the entire CT rotation game.
- Do not over-rotate. Many Mirage rounds are lost by CTs abandoning a site for a fake.
- Practice your A execute as a five-man: smoke CT, Jungle, and Stairs, flash short, then commit together.
Mirage rewards teams that combine disciplined utility usage with clear communication. Master the callouts and smokes in this guide and you will immediately notice an improvement in your round win rate. Explore more maps and strategies in our complete CS2 maps section.
Comments