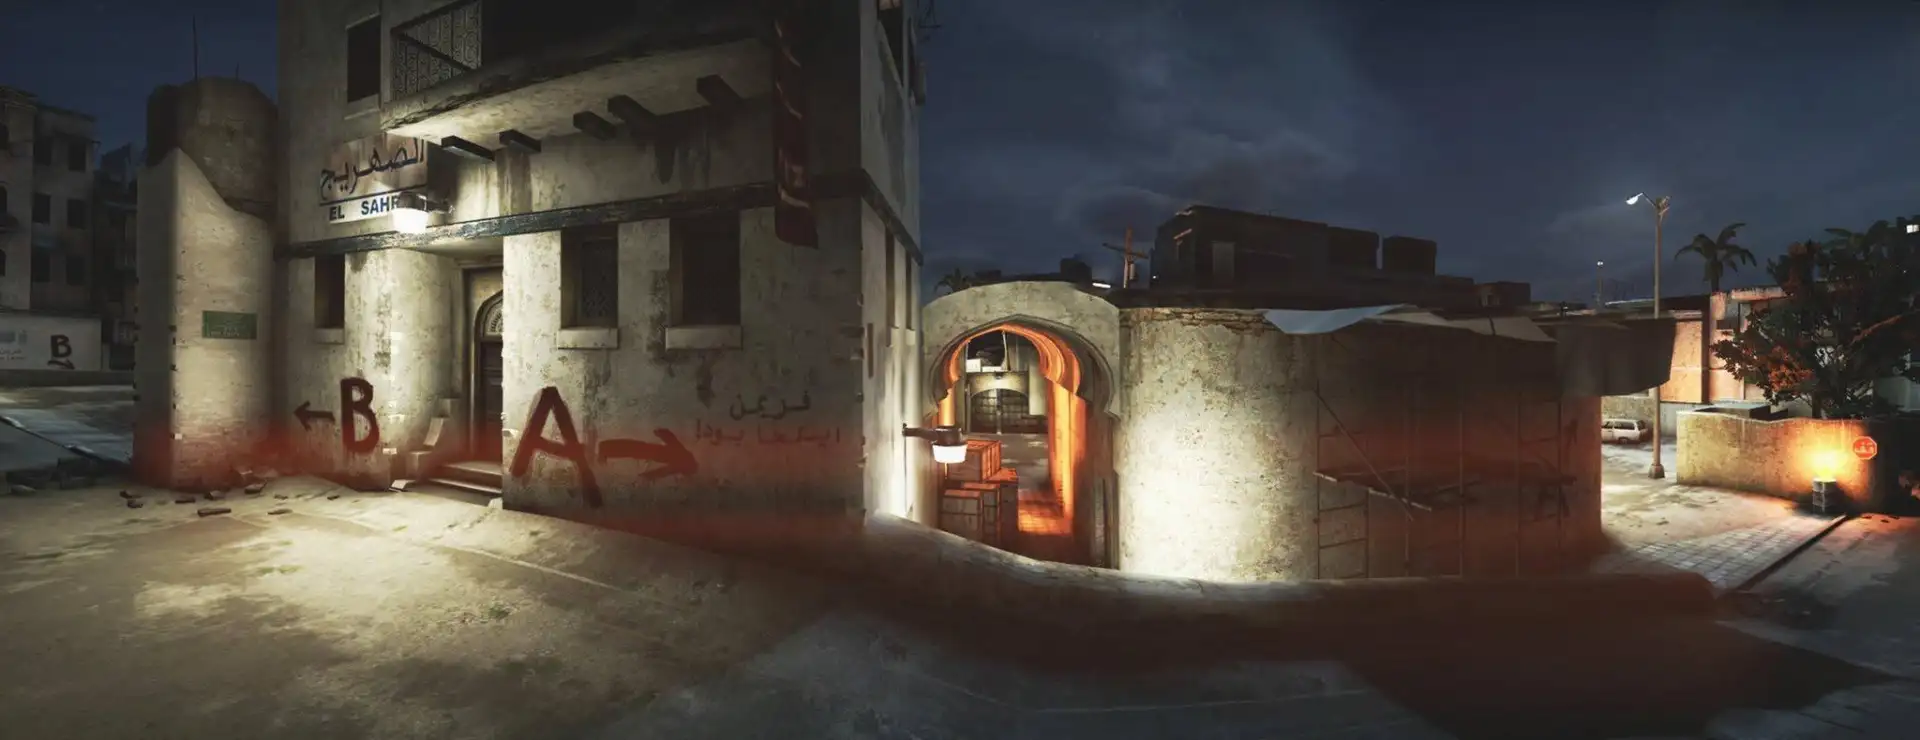
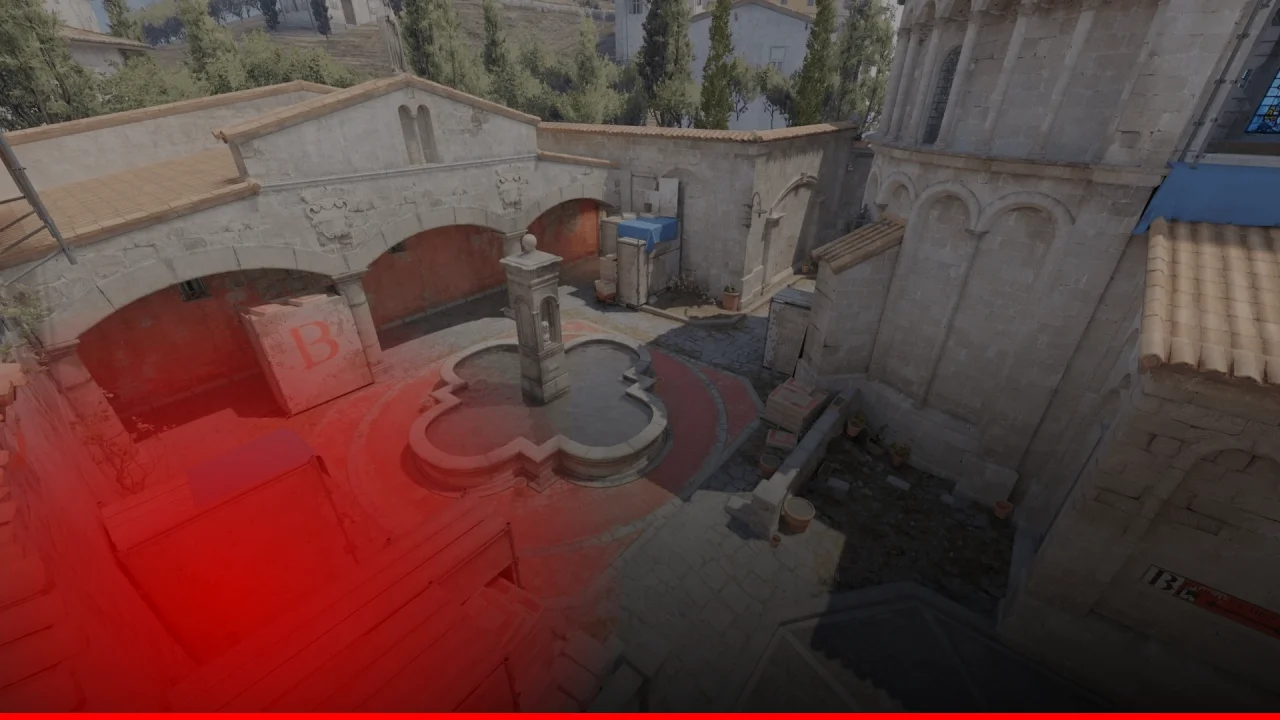
Inferno is one of the oldest and most beloved maps in Counter-Strike, a sun-drenched Italian village that has defined professional and casual play for decades. In CS2, Inferno remains a map where fundamentals win — utility usage, crossfire positioning, and Banana control separate the best teams from the rest. For a full list of active duty maps, visit our CS2 maps overview.
This guide breaks down every critical area of Inferno, from Banana wars to A site retakes, with callouts, essential utility, and tactical advice to elevate your game. You can also find detailed layout information on our dedicated Inferno map page.
Inferno Layout Overview
Inferno is a two-bomb-site map with a long A approach corridor and a short, high-traffic B approach called Banana. The map has no true mid lane — instead, control of Second Mid near CT spawn provides rotational advantages. Inferno heavily favors positional discipline and utility, making it one of the most skill-expressive maps in the pool.
Key Callouts: A Site and A Approaches
A Site Positions
- Pit — A deep, sunken area at the front-left of A site (from T perspective). The Pit player holds a low angle that is notoriously difficult to clear quickly, making it a prime CT anchor.
- Arch — The archway on the left side of A site connecting Apartments to the site. Ts typically rush through here after clearing the A Long approach.
- Graveyard — A raised area to the right of A site near the CT-side entrance. Strong for crossfires with a Pit player.
- Library — The enclosed room at the back of A site connecting toward CT. A CT holding Library can defend late or be dangerous on retake.
- Short / CT — The CT-side entrance into A site, a narrow corridor that allows rapid CT rotation from CT spawn onto site.
- Apartments / Apps — The T-side multi-floor building providing a second approach to A site, complementing Long A. Ts who take Apartments threaten both the site and Arch.
- Long A — The main T-side approach to A, a long sightline that CTs can hold from Arch or Pit. Utility is essential before committing.
Key Callouts: B Site and Banana
Banana
Banana is the single narrow path connecting T spawn to B site. It is arguably the most contested chokepoint in all of CS2. Controlling Banana means controlling B, and teams that consistently win Banana fights dominate the map.
- Top Banana — The T-side opening of Banana near spawn. CTs sometimes push aggressively to Top Banana in early rounds to gather picks.
- Mid Banana / Car — The mid-section of the corridor featuring a car that provides limited cover. Molotovs here are critical for slowing T pushes.
- Bottom Banana — The bottom of Banana just before B site entry. This area is where T-side must clear the final CT positions before planting.
- Coffins — A stack of boxes on the left side of B site, directly in front of Banana’s exit. CTs frequently hold here for the first peek.
- New Box — Additional cover on B site, often used to post-plant or hold the Banana entry point.
- CT (B) — The CT entrance to B site, used by rotating CTs coming from spawn. A B anchor must manage both the Banana entry and CT direction.
Essential Smokes
A Site Smokes
- Arch Smoke — Blocks the CT holding Arch from shooting into the A Long approach. Critical before committing to A.
- Short / CT Smoke — Seals the CT spawn entry so no CT can rotate onto site during the execute without walking through smoke.
- Library Smoke — Cuts off the Library corner so the bomb can be safely planted without a Library CT peeking.
B Site / Banana Smokes
- Coffins Smoke — Blocks the CT holding Coffins from immediately peeking Ts as they exit Banana.
- CT (B) Smoke — Prevents a rotating CT from flanking onto B site mid-execute.
- Car Smoke — Thrown from T side into Mid Banana to slow an aggressive CT Banana hold, buying time to walk Banana safely.
Molotovs: The Core of Banana Control
Molotovs are more critical on Inferno than on almost any other map. Both teams use molotovs constantly on Banana to control pace and deny positioning.
T-Side Molotovs
- Car/Mid Banana Molotov — Throw this from T spawn to flush out a CT holding the car position. A staple first utility in most rounds.
- Coffins Molotov — As Ts approach B site, a molotov on Coffins forces the CT to move, opening a window to push onto site without taking a free kill.
CT-Side Molotovs
- Top Banana Molotov — Thrown from B site or the CT Banana position onto the T-side Banana opening. This stalls T movement by several seconds, giving CTs time to set up.
- Pit Molotov on Retake — When retaking A, CTs need to clear Pit first. A molotov into Pit forces out any T who has taken the position post-plant.
- Apartments Molotov — Used defensively to slow T Apartments pushes early round.
CT-Side Strategy
On CT side, Inferno’s default setup typically runs two players on B (one Banana/Coffins, one CT), one player holding Graveyard or Pit on A, and one covering Short/CT. The fifth player can play Second Mid or float between sites.
Banana Control Is Non-Negotiable
CTs who lose Banana lose B. Spending molotovs to slow Ts down Banana is always worth it, even if it does not secure a kill. The goal is to create enough delay that the fifth CT can rotate in time.
A Anchor Strategy
- A Pit player who holds long is extremely effective but must use sound cues carefully — getting caught in Pit during an execute results in a difficult 1vN situation.
- A Graveyard and Arch crossfire shuts down A executes when timed correctly.
- Short CT players should avoid peeking Long early unless they have a dedicated flash; the Long sightline heavily favors Ts with rifles.
Retaking Inferno
Retaking A
- Approach via Short CT to catch bomb planters from behind.
- Use a Pit molotov to flush out any T holding post-plant.
- Coordinate one player through Arch and one through CT simultaneously for a crossfire.
Retaking B
- CTs should come from CT (B) entry and not push straight through Banana, which is likely smoked or held.
- A grenade or flash into site before entry is mandatory — do not walk in blind.
- Split the retake: one CT from CT side, one pushing through Banana smoke if possible.
T-Side Strategy
Banana Control Default
A healthy T default on Inferno commits two or three players to Banana, with the intention of winning Banana control early for a clean B execute. Even if no full execute happens, having Banana control pins the B CTs and restricts rotations.
A Site Execute
A site on Inferno takes more setup than B but yields high success rates when executed correctly. The standard five-man A execute uses:
- Smoke Arch, CT entrance, and Library
- Molotov Pit immediately
- Flash over the Arch smoke
- Commit all five players in tight timing
A well-executed A attack on Inferno is extremely difficult for CTs to stop in real time — the challenge is the coordination required to pull it off consistently.
Fake and Rotate
Because B requires two or more CTs to hold effectively, a convincing Banana fake with utility and early pressure can draw A-side CTs toward B — opening a clean A execute or a clutch round for a T lurk through CT.
Quick Callout Reference
| Callout | Area | Notes |
|---|---|---|
| Pit | A site sunken area | Hard CT anchor, molotov to clear |
| Arch | A site archway | T entry point |
| Graveyard | Elevated right of A | CT crossfire position |
| Library | Back of A site | Smoke before planting |
| Banana | T approach to B | Most contested choke |
| Coffins | B site left boxes | CT first peek position |
| CT (B) | CT entry to B | Rotation and retake path |
Final Tips
Inferno is a map of attrition. Win Banana, spend your molotovs early, and the site will open itself.
- Molotovs are more important than smokes on B — practice the top-Banana molotov from CT side.
- Never rush Banana without a molotov on the car first. You will be punished consistently.
- On CT side, the fifth player floating Second Mid can intercept a T lurk pushing through CT or assist either site rotation.
- The A execute on Inferno is slow to set up but very hard to stop — consider it your round-win strategy rather than an opener.
For more map breakdowns, head to our CS2 maps section where we cover every map in the current active duty pool.
Comments