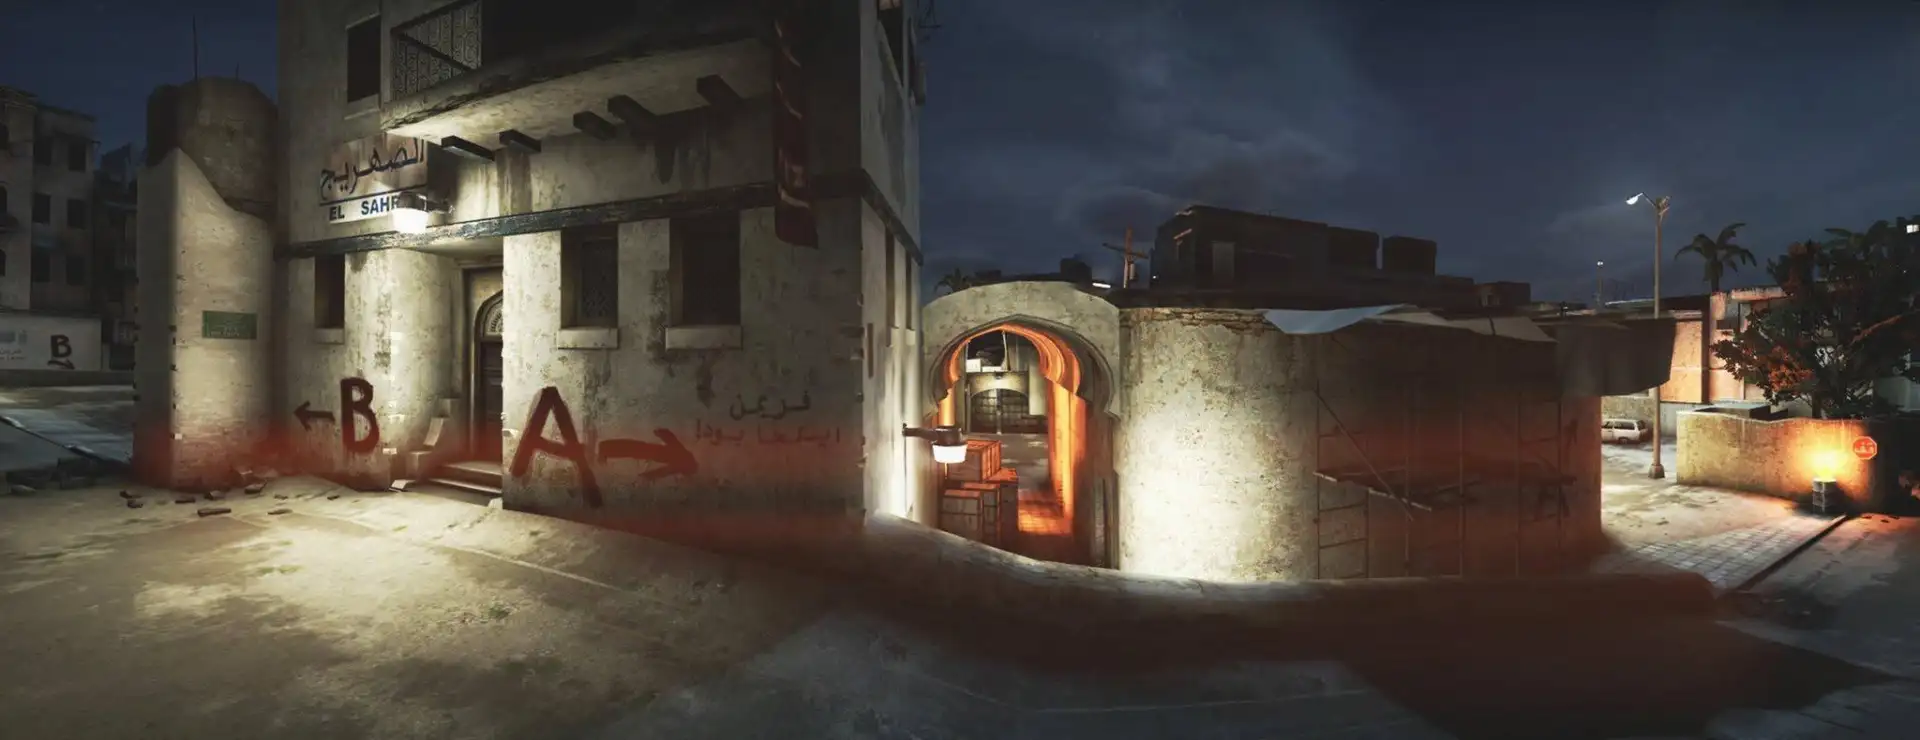
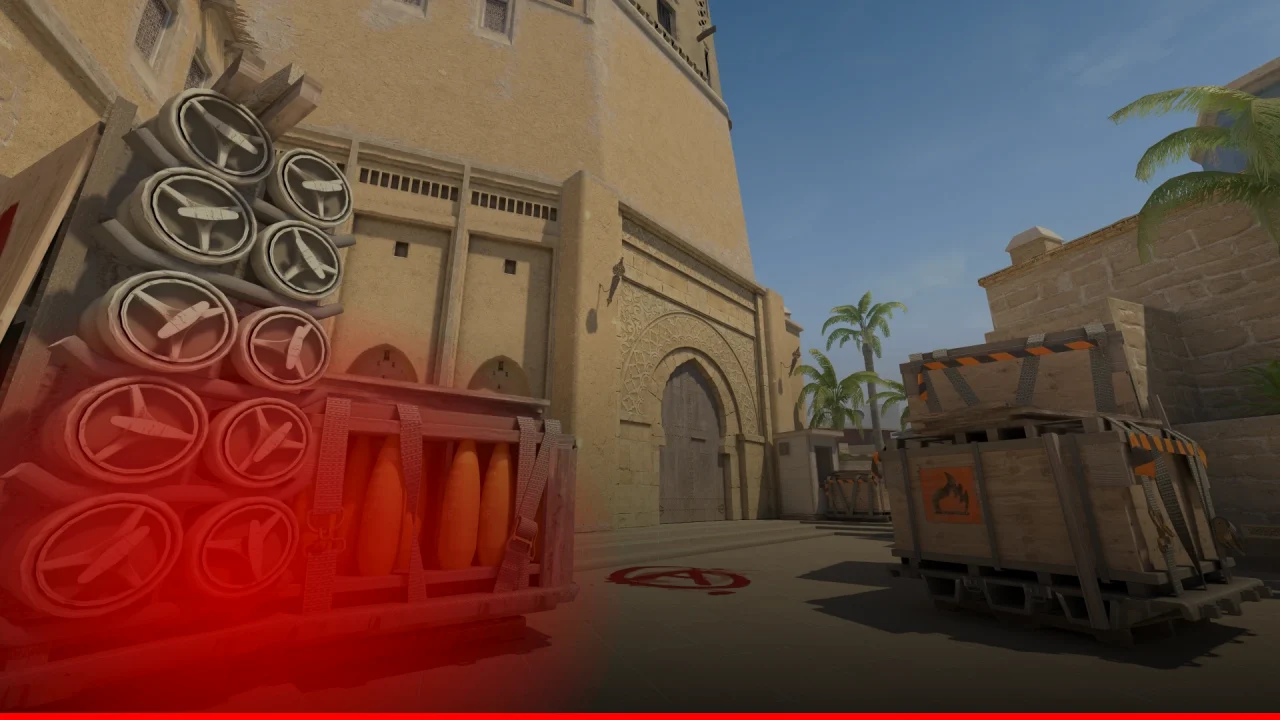
Dust 2 is perhaps the most recognizable map in competitive first-person shooter history. Since its original Counter-Strike appearance in 2001, it has been played billions of times and remains a fixture in the CS2 active duty map pool. Its iconic layout — long A corridor, mid doors, B tunnels — is deceptively simple on the surface but contains enough strategic depth to support decades of professional play. This guide covers every critical area, key AWP angles, and the smoke lineups every Dust 2 player should know.
Map Overview: The Architecture of a Classic
Dust 2’s genius lies in its balance. Two bombsites — A and B — are connected by a mid area that provides route flexibility without dominating the map’s strategy. The T-side has three primary paths: Long A, Short and Catwalk through mid, and B Tunnels. CT spawn efficiently covers all three. This even geometry is why Dust 2 has always served as the benchmark for competitive CS map design.
Modern CS2 Dust 2 looks visually upgraded but plays almost identically to its CS:GO predecessor in terms of angles and timings. The game’s subtick system does slightly change certain peeks, particularly on Long A, but the strategic fundamentals remain constant and fully transferable from previous experience on the map.
Long A: The AWPer’s Domain
T Long and the Long Corner
T-side Long A begins at the T spawn exit near the long corner — a doorway where CTs will frequently hold an early aggressive peek at the start of a round. This corner is the first hazard any T pushing long must clear. A flashbang thrown over the wall that lands at the corner is the standard counter. After the corner, players advance to long doors — the double-door entry that opens into the car area approaching A site.
Pit and Car
The pit is a small recessed area on the right side of the approach to A site from long. A CT AWPer or rifler in pit has a powerful angle against players pushing through long doors. The car provides initial cover when entering the A site from long. Ts must smoke pit before pushing; the standard pit smoke has been used in professional matches for years and can be thrown from T-spawn or from behind long doors depending on the timing needed.
A Site Angles: Cross, Short CT, and Goose
Once through long and past the car, Ts face sightlines from cross (the open area in front of short stairs), CT short, and the goose platform at the back of site. Standard A execution smokes cover cross and short CT simultaneously, letting Ts push from long without dueling multiple angles at once. The goose position — the elevated platform in the back-right of A site — is a secondary check that is easy to miss in the chaos of an execute but will result in a free kill for any CT left there.
Long AWP Duels
Long A generates some of the most iconic AWP duels in CS history. The CT AWP at A site, peeking over the car or from short CT, versus the T AWP holding at long doors, creates a high-stakes skill exchange every round. The T AWP has a wider position to work from; the CT AWP can fall back into site after winning the duel. Using a T rifler to fake-peek long doors while the AWP repositions is a classic deception tactic that forces the CT AWP to commit prematurely.
Mid Doors: The Connector
Mid Control and Catwalk
Mid is the narrow passage between T spawn and B site, accessed through a pair of doors. Controlling mid allows Ts to use the catwalk — an elevated corridor leading to a window or short stairs overlooking A site — or to drop toward B-site from above. Mid is one of the highest-value areas on any CS map. A T who gains mid control early forces the CT team to account for threats on both bombsites simultaneously, stretching the defense thin.
The CT holding mid is typically behind a box or door, playing an AWP or tight rifle angle. A well-thrown smoke on the CT mid position, followed by a fast catwalk push, neutralizes this threat entirely. The smoke is thrown from the T spawn side near the left wall of mid and lands in the CT mid doorway, blocking the dominant angle.
Window and Short
From mid, players can boost into the window room — requiring a teammate boost — which provides a powerful sightline over short stairs and A site. Window has been adjusted several times over the map’s history for being too powerful, but it remains valuable in CS2 for information gathering and surprise angles. Short stairs connect the window area to A site and are a common CT aggressive hold position for teams that want to pressure T-side mid plays.
B Tunnels and B Site
Upper and Lower Tunnels
B tunnels are the iconic yellow-lit corridors leading from T spawn to B site. Upper tunnels exit near the B-site entry box; lower tunnels feed into the doors on the left side of B site. Pushing both tunnel entries simultaneously — with one player at upper and one at lower — is the foundation of every B execute. A CT holding upper tunnel doors will be caught between two angles if Ts split the entry properly and throw a flash to blind the tunnel-side peek.
B Site: Platform, Van, and Back of Site
B site has a relatively open layout but contains the platform (an elevated position to the right when entering from tunnels), the large box in the center (commonly called van), and the back-of-site area near the CT entry. The platform position gives CTs a height advantage against T-side pushers. A molotov thrown onto the platform at the start of a B execute flushes this position while teammates rush through both tunnel entries.
The Xbox Smoke
The Xbox smoke is one of the most famous utility throws in competitive CS. It lands on the bridge at mid (called Xbox) and blocks the CT mid position, allowing Ts to cross between upper tunnel and the catwalk area without exposing themselves to the CT mid AWP. Every Dust 2 player should have this smoke memorized — it is used in virtually every structured B execute and is considered mandatory knowledge at any rank above Silver.
Key AWP Angles
| Position | Side | Threat Coverage |
|---|---|---|
| Pit | CT | Long A pushers through doors |
| CT Mid (Xbox) | CT | T-side mid crossing |
| A Short / Window | CT | Short pushers and mid players |
| Upper Tunnel Door | CT | B tunnel rushers |
| Long Doors (T) | T | CT long peek early round |
Essential Smoke Lineups
Cross Smoke (A Site)
The cross smoke blocks the open area between long A and short stairs, preventing a CT from shooting across as Ts enter A site from long. This smoke is thrown from behind long doors. The most common version uses a crouched stance near the left pillar at long doors, aimed at a specific edge on the building overhead. It is paired with a short CT smoke for a complete A-long execute setup.
Short CT Smoke (A Site)
The short CT smoke blocks the CT short entry into A site, stopping a CT from playing aggressively during a long A execute. Together with the cross smoke, these two throws essentially lock down both CT-side approaches to A site and allow a long push to plant safely without taking fire from multiple angles simultaneously.
Tunnel Smoke for B
When pushing B site, a smoke on the CT entry to B prevents immediate CT rotation into the site during the plant. This smoke covers the back-of-site position that a CT might hold while a teammate in the tunnel fights your entry. Combined with the Xbox smoke, it creates a contained space where T-side controls all sightlines during the plant.
«Dust 2 is a map where gunfight mechanics matter, but map knowledge — smokes, timing, and positioning — separates the good players from the great ones.»
Common Mistakes on Dust 2
- Skipping the long corner check: Getting caught by an aggressive CT corner at the start of a long push wastes a player immediately and often loses the round.
- Pushing mid without an Xbox smoke: The CT mid AWP will hit a moving player crossing mid almost every time without the Xbox smoke in place.
- Bunching in tunnels: Two players stacked in the same tunnel entry is an easy AWP-through-smoke or HE grenade double kill for CTs.
- Over-committing to Long without utility: Long A without a pit smoke and cross smoke is a guaranteed trade at best and a round loss at worst.
CT-Side Fundamentals
Standard CT setups place one player at long (usually an AWPer), two near B site, and the remaining two at A site or mid. The mid player is often a hybrid who can rotate rapidly to either site. Losing mid control early is one of the most damaging things that can happen to a CT team on Dust 2, as it simultaneously enables T-side to threaten both sites and removes the CT team’s ability to react with speed.
For a visual callout reference and full layout of the map, visit the CS2 Dust 2 map page. To explore how Dust 2 compares to other maps in terms of strategy and complexity, see the CS2 maps overview.
Conclusion
Dust 2 is the perfect learning map for new players and a permanent fixture in the competitive toolkit of veterans. Mastering Long A control, the Xbox smoke, B-site tunnel timing, and A-site execute smokes gives any player a foundational skill set that transfers directly to the rest of the map pool. The map is simple enough to understand in an hour and deep enough to study for years.
Comments