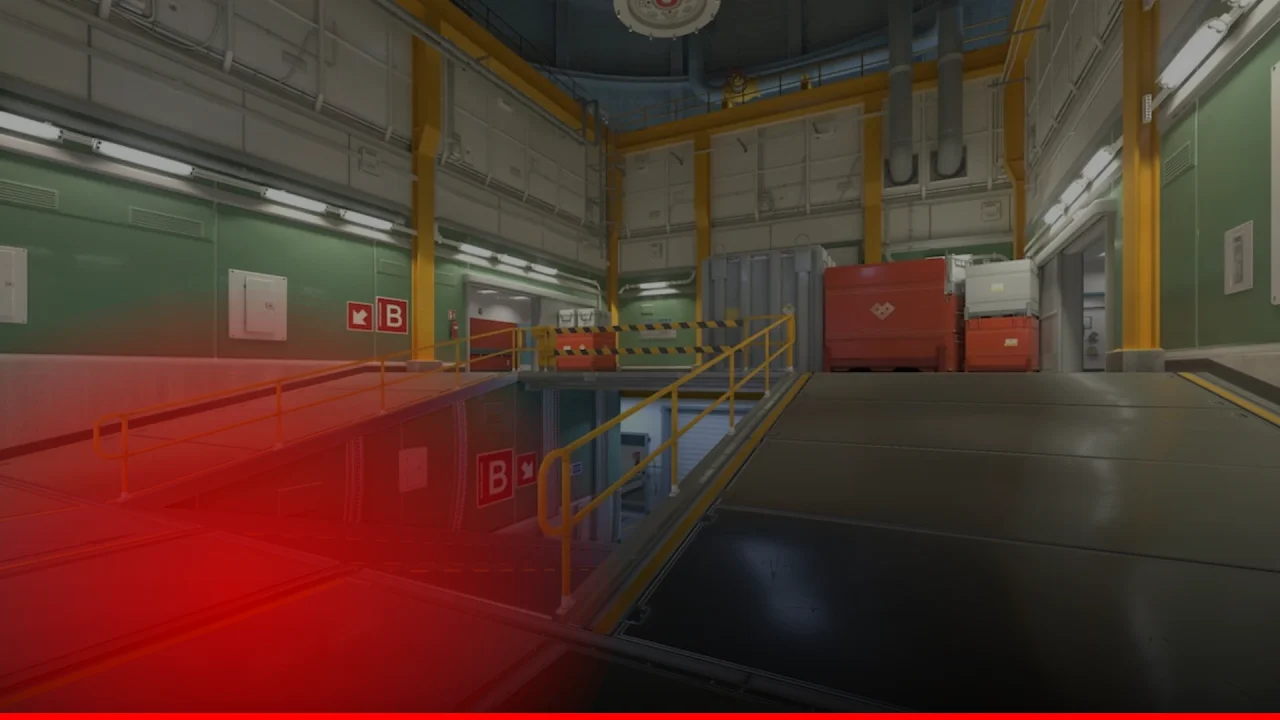
Nuke is one of the most mechanically demanding maps in Counter-Strike 2. Its vertical design, tight choke points, and multi-level bombsites create a completely different strategic environment compared to other active duty maps. Mastering Nuke requires understanding elevation, coordinated utility, and disciplined rotations. This guide covers every critical area, from A-site heaven to B-site vents and the infamous ramp room.
Map Overview: Understanding Nuke’s Vertical Design
Unlike most maps where the action unfolds on a single plane, Nuke stacks its two bombsites vertically. A site occupies the upper level while B site sits directly below. This creates unique opportunities for cross-site communication, boosted positions, and utility that affects both levels simultaneously. CT-side defaults and rotations are heavily influenced by this stacking — a fast rotate between sites can be done through the interior connector known as «between» or through the outside ramp.
Before diving into site-specific strategy, understand the three primary T-side entry paths: outside (ramp and yard), inside (through lobby, into vents or ramp room), and the rare squeaky-door split. Most high-level executes combine at least two of these routes.
A Site: Heaven, Hut, and Rafters
Heaven and Catwalk
Heaven is the elevated position overlooking A site from the CT side. A CT or AWPer holding heaven has a dominant angle over anyone pushing from outside ramp. Taking heaven control early is a key T-side goal on A executes. A smoke on the heaven box — thrown from the top of outside ramp — cuts off that sightline while your team pushes through hut or the main site entry.
Hut
Hut is the small building adjacent to A site on the T-side. It provides cover for players waiting for smokes to land before executing. Molotovs from CTs inside site can flush players out of hut, so Ts should be ready to move quickly once utility is in the air. A common execute involves one player holding hut as a lurk while the rest execute from outside ramp simultaneously.
Rafters
Rafters run along the upper edge of A site, accessible from inside via a ladder. A CT playing rafters can catch rotating Ts completely off-guard, especially in post-plant scenarios. On T-side, clearing rafters before planting is essential — an unchecked rafter player will win every post-plant retake attempt. Pop-flashes thrown from outside hut can momentarily blind a rafter CT, creating the window your plant-man needs.
A Site Default and Plant Positions
The default A plant is behind the large silo structure, shielded from heaven. Secondary plant positions include near the back wall (risky but hard to retake from B) and in the corner near the silo base. Understanding which plant position counters which CT rotation is a high-level Nuke skill. For example, planting deep toward the back wall punishes CT rotations from B but is vulnerable to a heaven retake.
B Site: Vents, Ramp, and Secret
Vents
The vent system is Nuke’s most iconic feature. Ts enter the vents through a grate in the upper area (accessible from outside after crossing the yard) and drop down into B site. Vent plays are inherently noisy — crouch-walking through vents is slower but quieter, and experienced CTs will hear any careless movement. A coordinated vent play synchronized with ramp pressure is one of the most effective B executes in the game.
CTs monitor vents from multiple angles: the vent opening on B site, the vent from the CT side of B, and through the garage area. Smoking the B site entrance from ramp while a player drops through vents creates a two-pronged threat that is extremely difficult to hold with a single CT.
Ramp
Ramp is the interior staircase connecting the lobby and lower levels to B site. It is the most contested area on Nuke. CTs will frequently play the top of ramp with a rifle or AWP, punishing any T who peeks without support. Flashing over the ramp wall and having a teammate pre-aim the top of ramp immediately after is the standard counter. Molotovs at the top of ramp buy time for a vent drop to execute cleanly.
Secret and B Site Plant Positions
Secret is a narrow corridor beneath A site that connects to B site. CTs sometimes rotate through secret to catch T-side players off-guard, or play it as a lurk to delay retakes. On B, the default plant is near the center of the site behind the low box. A back-corner plant near the secret entrance punishes CT rotations from above but is vulnerable to a ramp retake push.
CT Defaults: Holding the Map
Standard CT setups on Nuke typically place two players on A site (one in heaven, one in hut or on site), one player holding ramp, one watching outside and the yard, and the fifth playing a flexible role near lobby or squeaky. The ramp player is critical — losing ramp control early almost always translates into a lost round. A one-way smoke from the CT side of ramp is a common tool to deny T-side information.
«On Nuke, information control is map control. If CTs know which route the Ts are taking, the defense is almost unbreakable.»
CTs should rotate cautiously between sites. A fake on A followed by a B execute is a classic Nuke T-side gambit. The rotation through «between» (the interior connector) is fast but predictable; rotating through outside takes longer but maintains better positioning.
T-Side Executes
A Site Execute (Outside Ramp and Hut)
- Smoke heaven from outside ramp using a pre-round lineup.
- Smoke the heaven entrance walkway from hut.
- Flash over the site entry as two players push from ramp and one from hut simultaneously.
- Clear rafters immediately upon entry.
- Plant behind silo and set up a cross-site post-plant hold.
B Site Execute (Ramp and Vents)
- Two players push ramp with flashbangs; one holds back to throw molotov at ramp top.
- Simultaneously, one player drops through vents while smokes cover the B site CT angles.
- The fifth player holds outside to prevent a CT rush or plays a lobby lurk.
- Plant center site; one player watches ramp, one covers vent re-entry, one watches secret.
Key Utility Lineups
| Smoke | Purpose | Throw Position |
|---|---|---|
| Heaven smoke | Block CT AWP on A execute | Top of outside ramp |
| Ramp top smoke | Delay CT push down ramp | Lobby wall lineup |
| Squeaky smoke | Block interior rotate | Outside yard |
| Secret smoke | Prevent B-to-A rotate during plant | B site corner |
Common Mistakes on Nuke
- Ignoring vent sounds: Always listen for vent movement. An uncontested vent drop nearly guarantees a B-site kill.
- Over-rotating between sites: Nuke punishes false rotates more than almost any other map. Commit only when the execute is confirmed.
- Skipping rafter checks: A single player in rafters can undo an entire A-site execute during the plant.
- Playing ramp one-on-one without utility: Never peek the top of ramp without flash or molotov support. The CT angle is too strong.
Advanced Tips: Nuke at a Higher Level
At higher ranks and in professional play, Nuke rounds are often decided by small information advantages. Sound cues from vents, footsteps on the roof, and the distinctive squeaky-door sound all carry strategic value. Learning to fake vent sounds by walking to the vent entrance and then retreating is a genuine mind-game technique used in professional matches.
Roof control is another advanced concept. Ts can access the roof of the nuclear reactor building, gaining a position that can disrupt CT rotations. While rarely used in solo-queue play, roof pressure appears in structured 5-stack and professional matches to create distractions and force CT attention.
For full callout references and a visual layout of the map, visit the CS2 Nuke map page. To compare Nuke’s strategic complexity to other maps, browse the complete CS2 maps overview.
Conclusion
Nuke rewards teams that communicate, use utility correctly, and respect the map’s vertical geometry. Learning the vent timing, mastering the heaven smoke, and understanding when to rotate rather than rush will elevate your Nuke performance significantly. It is a map where preparation and discipline consistently outperform mechanical skill alone.
Comments